

I've had a bunch of milled front ends and assorted parts laying around for a while. I've been scraping together the other parts to finish them. I'm still sitting on a big pile of kits but here are some of the recent builds.
One of the victims.
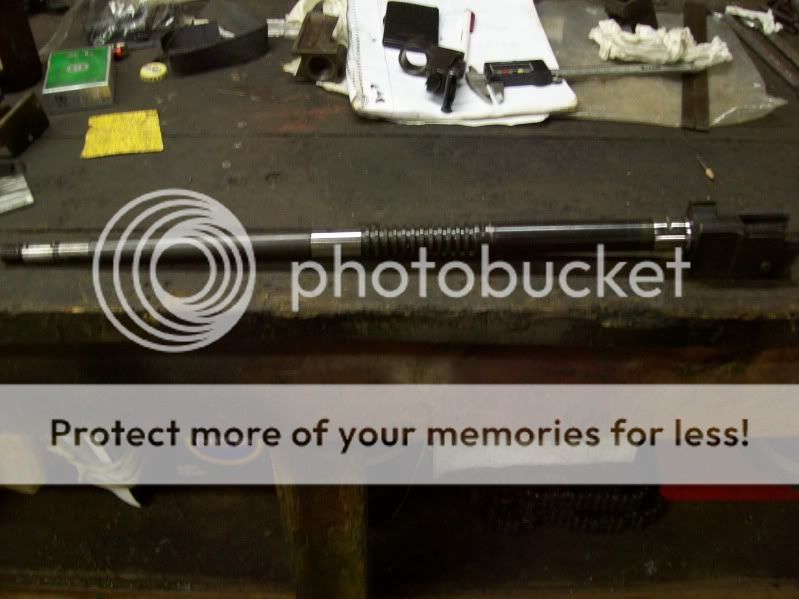
And a stripped M64 RPK stub and barrel. It's stripped because I originally had no intention of building it and was going to use the RPK specific components for another build. I found a cut up receiver to use as a pattern to get the profile of the left side.
After playing around with some measuring instruments and my mill, I made some plates from 4130 chromoly. I've done several of these and each one has had some change or another to make the plates easier to work with.
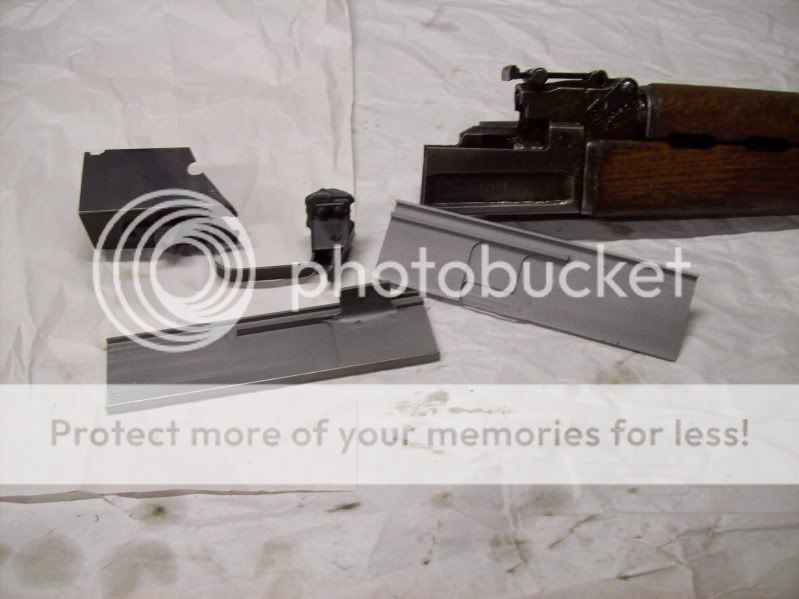
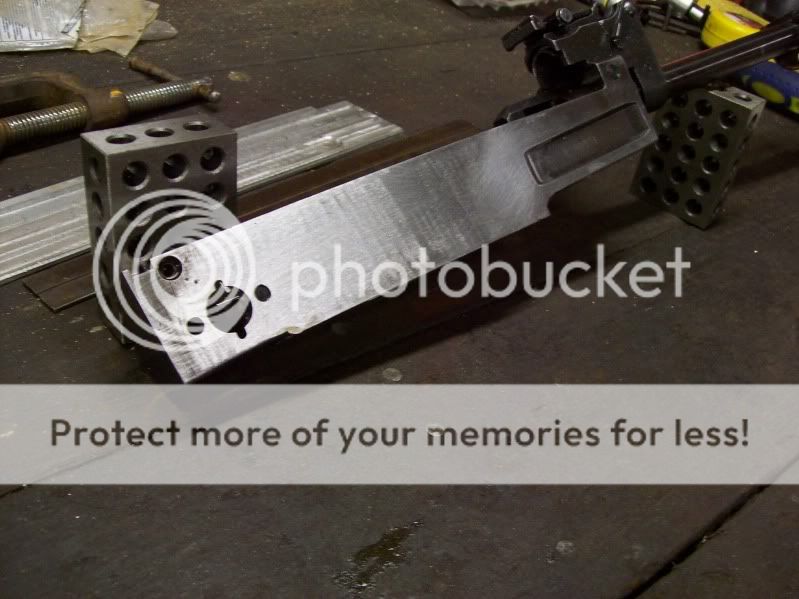
The beginning of an M64 left plate. If this cut isn't right, you may as well start over. And I have, more than once.
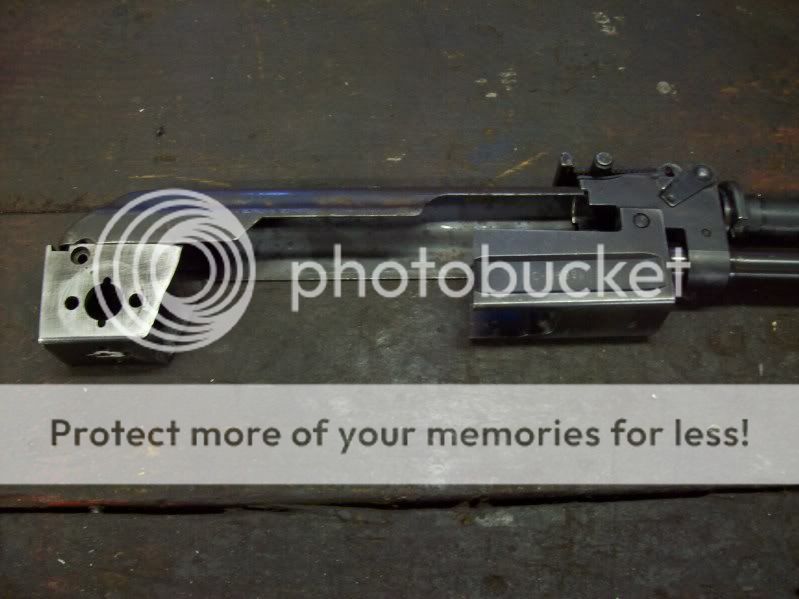
Here's the M64 plate after the machining and blasting. I usually blast after welding but the pic. is of one that I made to sell so it's been blasted.

I mill out a small pocket to weld in a piece for the ejector. If I milled the ejector into the plate as one piece, I'd have to use much thicker material and spend much more time on the mill to remove the excess. I leave enough material on the ejector to play with. It gets trimmed during the cleanup process and then hardened.
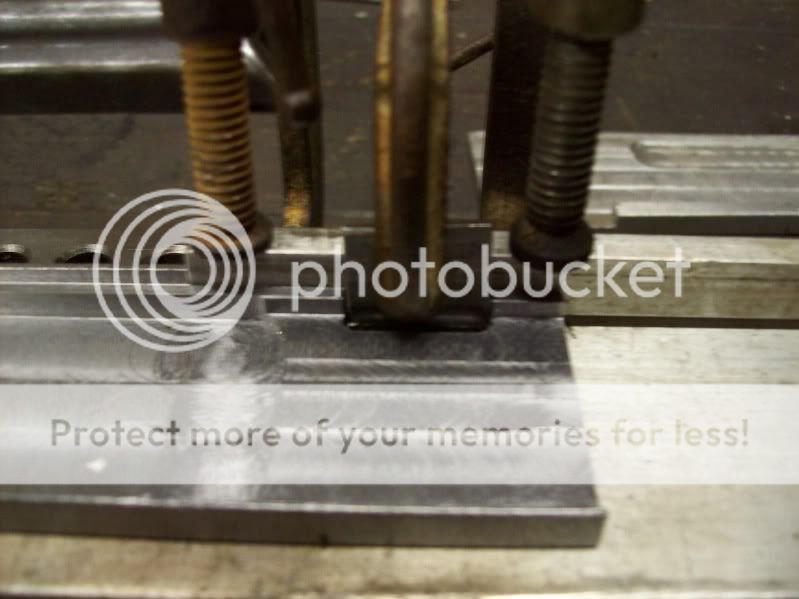
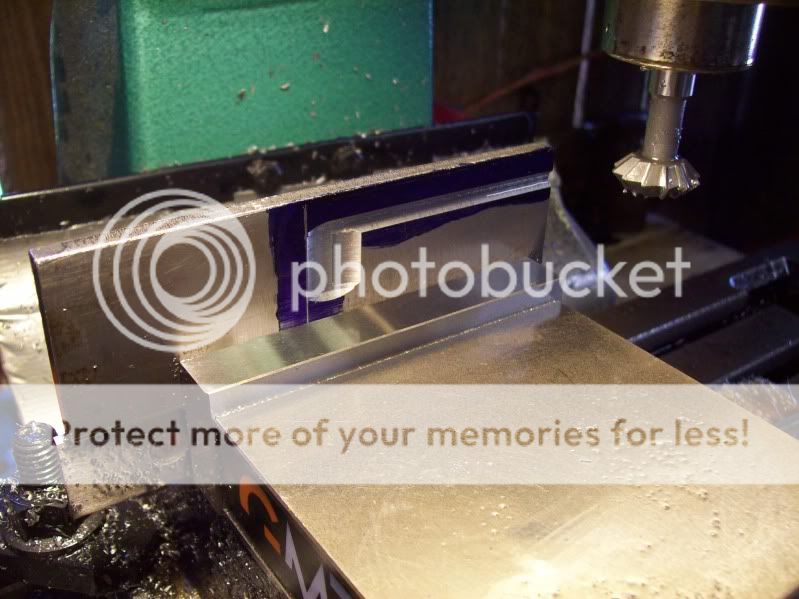
I square the stub and bevel the stub and plate in preparation for the weld. I use a piece of 1/2" plate steel as my base. It has a hole milled into it so that I can weld through the hole for access to both sides and for preheating the material.

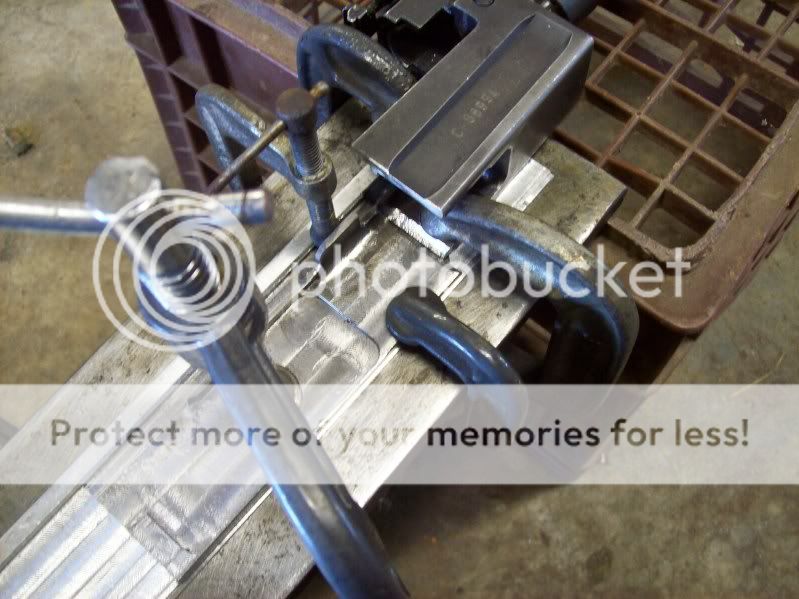
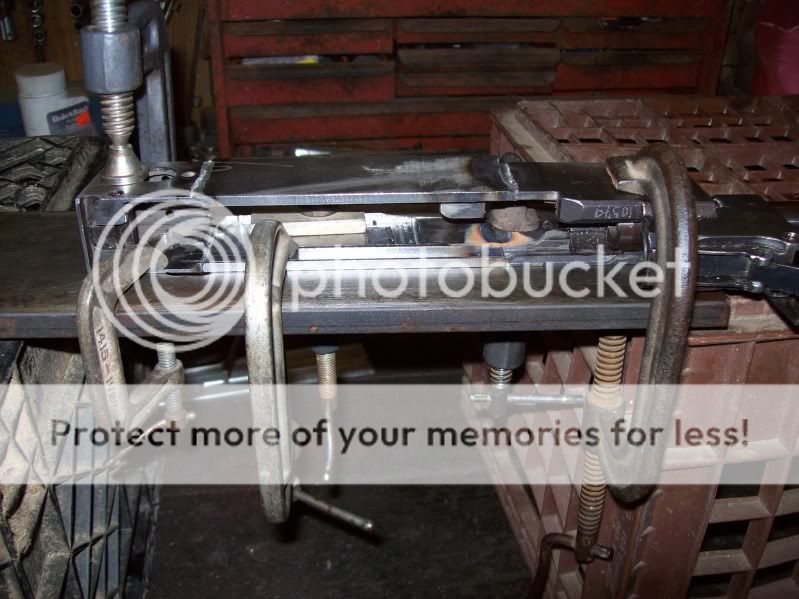
I have a piece of aluminum that I've milled to make a straight edge on the top and to use as a backer for tacking the parts. After they are tacked in place, I check alignment and if all is good, they get clamped to the steel plate for final welding. I use a propane torch to preheat the parts to prevent fast cooling of the weld (cracks). You can also see my ultra high tech, state of the art, milk crate welding table. With all of the clamps on there, I had to figure out something, it works so I keep using it.
The inside has been welded and the receiver has been flipped to start the other side. The outside has been beveled in preparation for welding it.

The other side is in and the front is welded. The back is next. I only weld the parts that are clamped to the plate, not what is "floating". This helps keep distortion down.
Sides have been welded inside and out and welds cleaned up.
I trim the bottom of the plates to match the angle of the bottom of the receiver. The bottom plate is fitted and the FCG holes have been drilled also.
The bottom is tacked in place and the trigger opening and misc. holes have been drilled. Caution is needed when welding over the trigger pin hole because it's right on the edge and it's easy to burn through. Drilling through welds isn't much fun at all.
After the bottom has been fully welded and cleaned up.
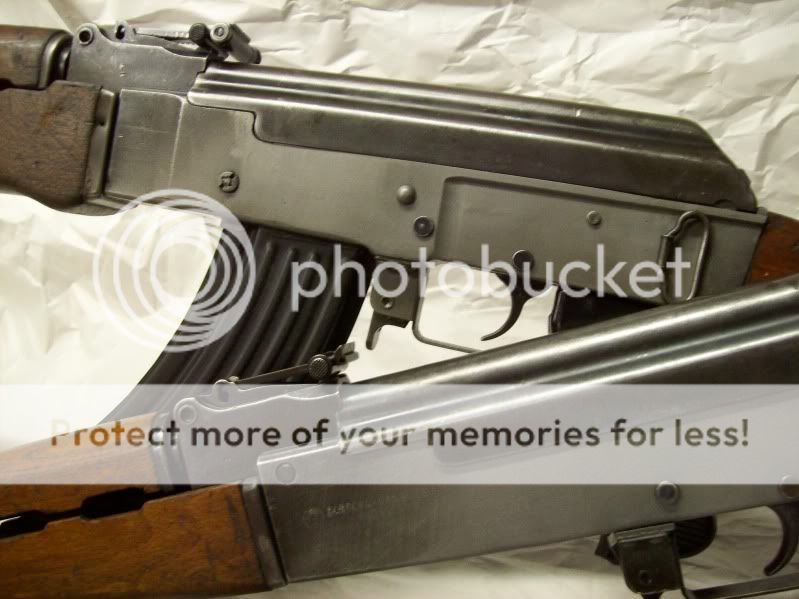
And here they are, waiting to be finished. Cleaning up the welds is the tedious part. Getting parts to fit and function isn't bad but making it look good takes a little time. The rivet above the hammer pin hole is just a cosmetic thing. It's to replicate the bolt hold open of the M64.


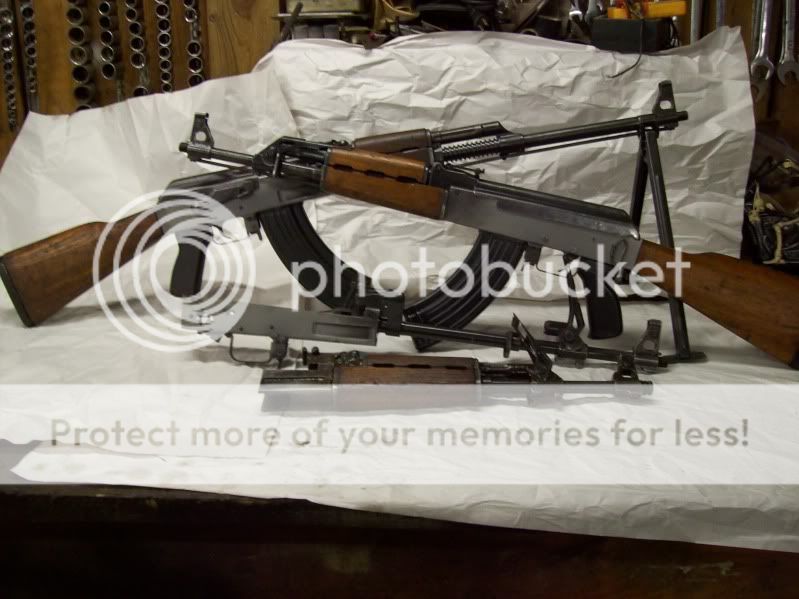
One of the victims.
And a stripped M64 RPK stub and barrel. It's stripped because I originally had no intention of building it and was going to use the RPK specific components for another build. I found a cut up receiver to use as a pattern to get the profile of the left side.
After playing around with some measuring instruments and my mill, I made some plates from 4130 chromoly. I've done several of these and each one has had some change or another to make the plates easier to work with.
The beginning of an M64 left plate. If this cut isn't right, you may as well start over. And I have, more than once.
Here's the M64 plate after the machining and blasting. I usually blast after welding but the pic. is of one that I made to sell so it's been blasted.
I mill out a small pocket to weld in a piece for the ejector. If I milled the ejector into the plate as one piece, I'd have to use much thicker material and spend much more time on the mill to remove the excess. I leave enough material on the ejector to play with. It gets trimmed during the cleanup process and then hardened.
I square the stub and bevel the stub and plate in preparation for the weld. I use a piece of 1/2" plate steel as my base. It has a hole milled into it so that I can weld through the hole for access to both sides and for preheating the material.
I have a piece of aluminum that I've milled to make a straight edge on the top and to use as a backer for tacking the parts. After they are tacked in place, I check alignment and if all is good, they get clamped to the steel plate for final welding. I use a propane torch to preheat the parts to prevent fast cooling of the weld (cracks). You can also see my ultra high tech, state of the art, milk crate welding table. With all of the clamps on there, I had to figure out something, it works so I keep using it.
The inside has been welded and the receiver has been flipped to start the other side. The outside has been beveled in preparation for welding it.
The other side is in and the front is welded. The back is next. I only weld the parts that are clamped to the plate, not what is "floating". This helps keep distortion down.
Sides have been welded inside and out and welds cleaned up.
I trim the bottom of the plates to match the angle of the bottom of the receiver. The bottom plate is fitted and the FCG holes have been drilled also.
The bottom is tacked in place and the trigger opening and misc. holes have been drilled. Caution is needed when welding over the trigger pin hole because it's right on the edge and it's easy to burn through. Drilling through welds isn't much fun at all.
After the bottom has been fully welded and cleaned up.
And here they are, waiting to be finished. Cleaning up the welds is the tedious part. Getting parts to fit and function isn't bad but making it look good takes a little time. The rivet above the hammer pin hole is just a cosmetic thing. It's to replicate the bolt hold open of the M64.
")
 Thanks for posting
")