Your designs - let me hear them (for a good cause)

The Best online firearms community in Louisiana.

Member Benefits:

  • Fewer Ads!
  • Discuss all aspects of firearm ownership
  • Discuss anti-gun legislation
  • Buy, sell, and trade in the classified section
  • Chat with Local gun shops, ranges, trainers & other businesses
  • Discover free outdoor shooting areas
  • View up to date on firearm-related events
  • Share photos & video with other members
  • ...and so much more!
  • cbr900son

    Well-Known Member
    Rating - 100%
    1   0   0
    Nov 26, 2010
    539
    16
    broussard la
    The first 3-5 months of the year there are a few charity raffles etc that I try to participate in and do some knives to raffle or auction/sale. I do a local church youth group who tries to raise $ for mission trips for the youth and a summer camp where some can't afford it. Im also hoping to do a few for the Lafayette Civitan club who help with the special olympics and many other things. There is also a charity gumbo cook off where they charge 500$ per team and raise a decent bit of money aand I'd like to do one or two as a prize with the plaques they get.

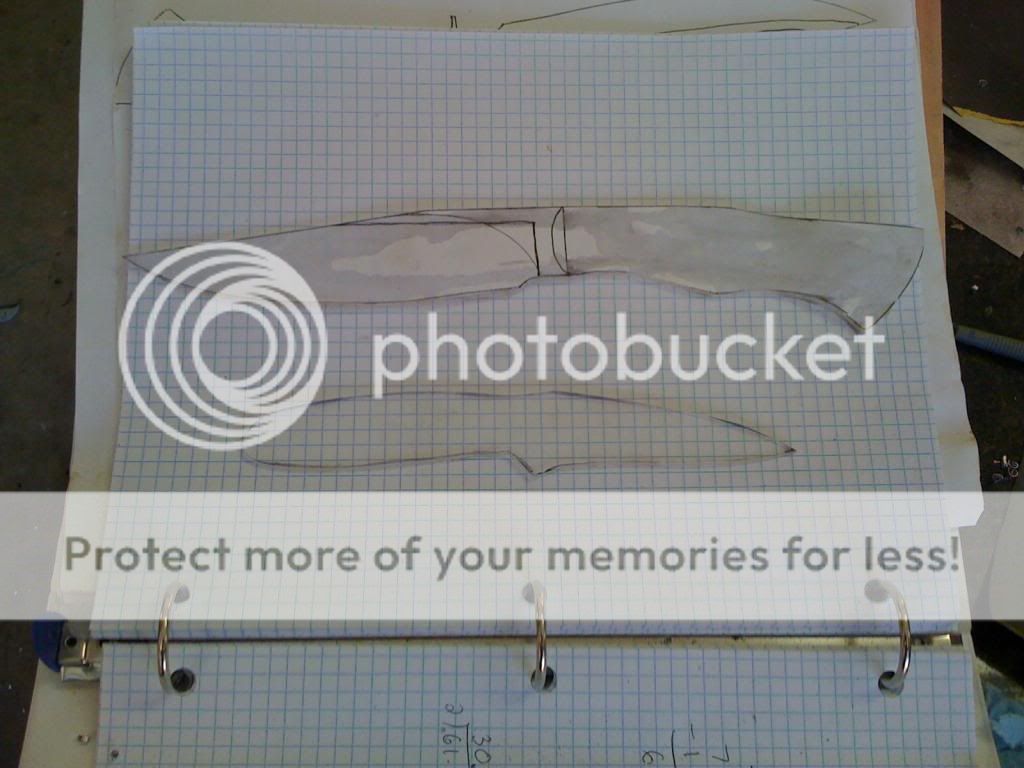
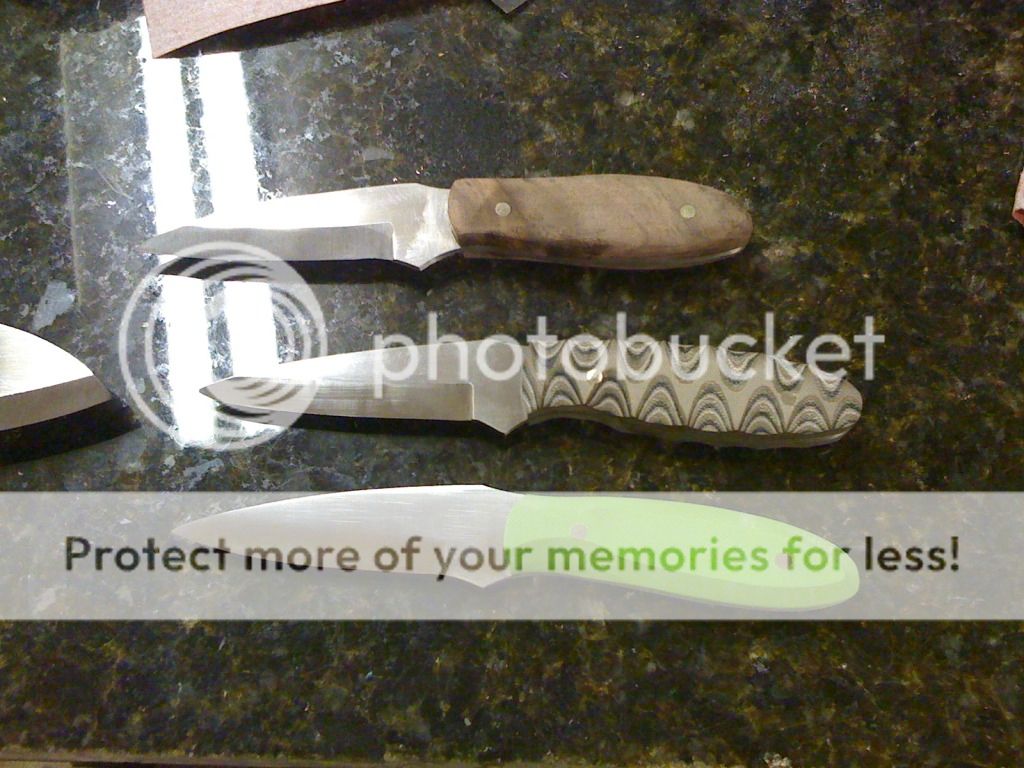
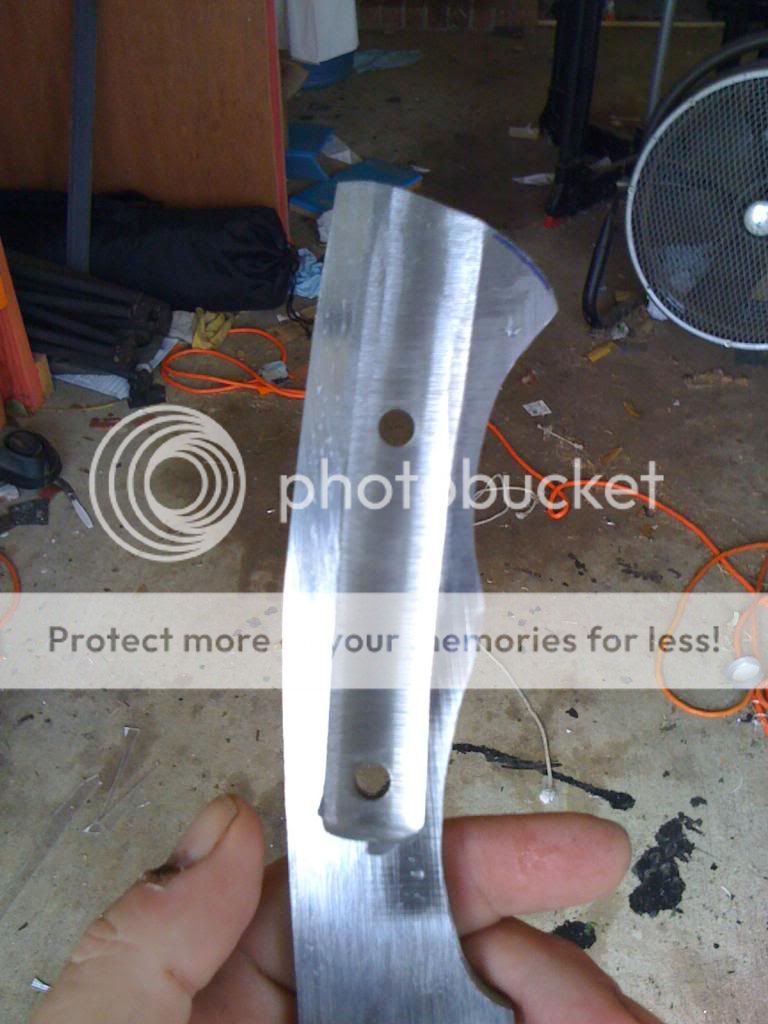
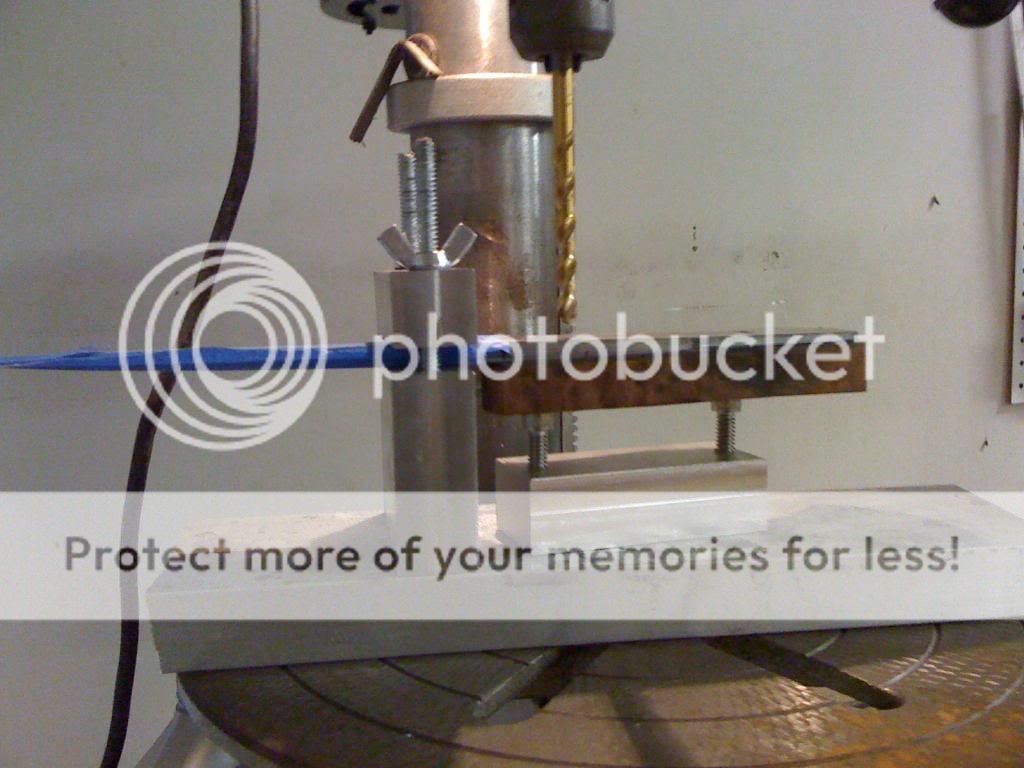
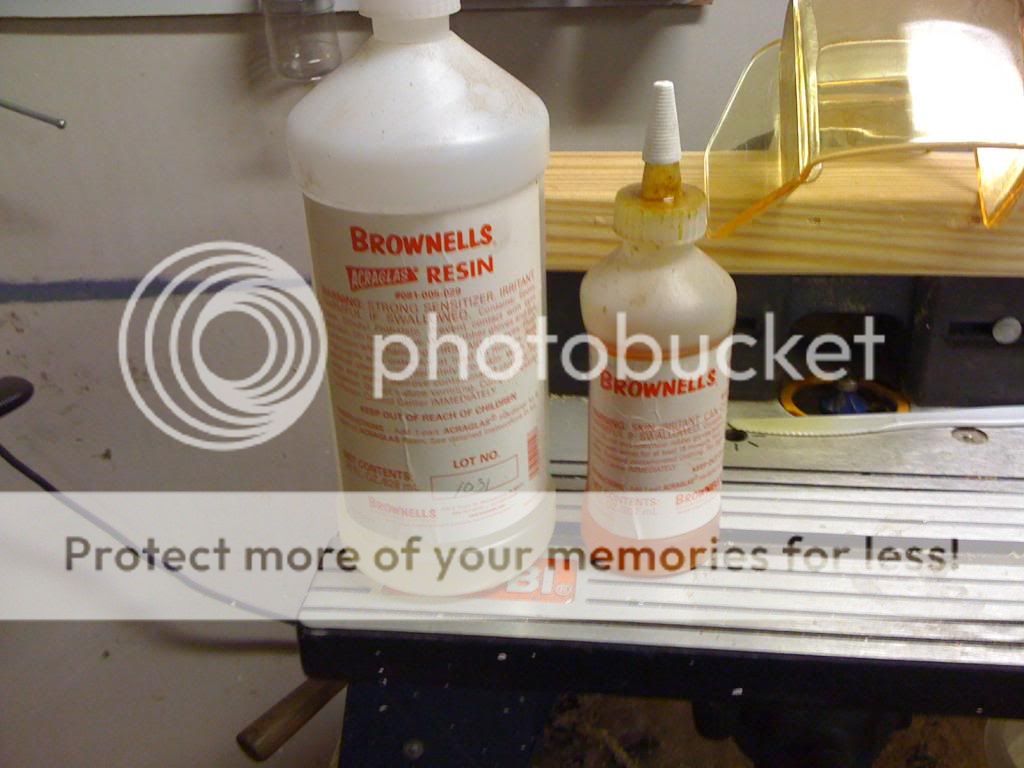
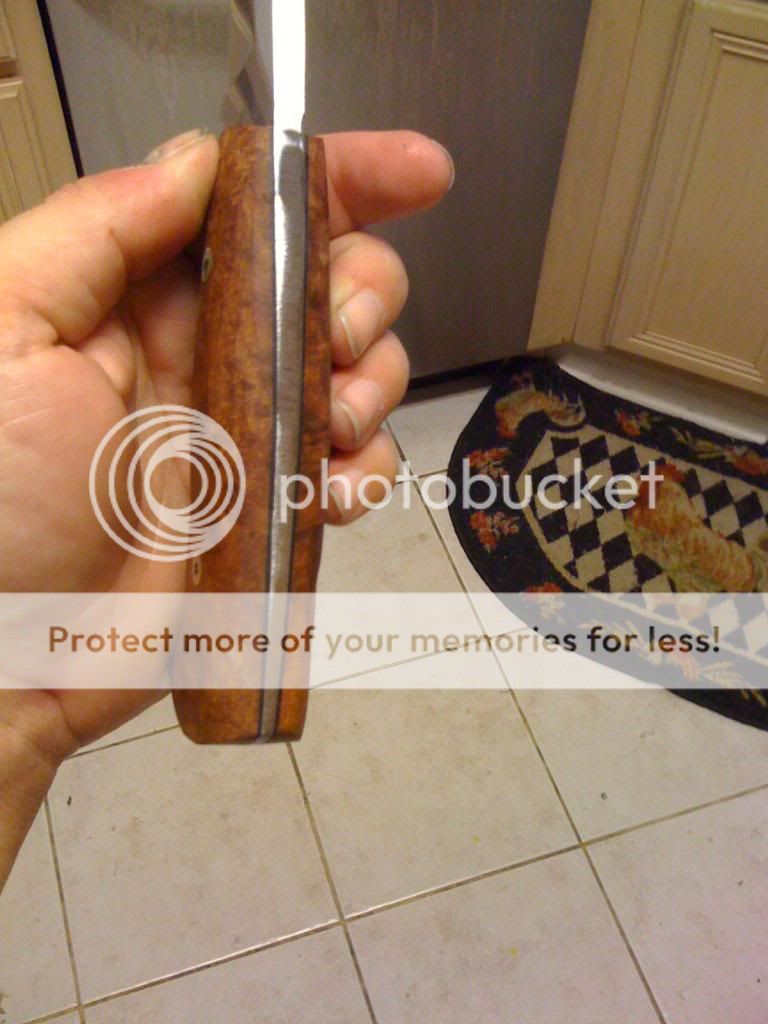
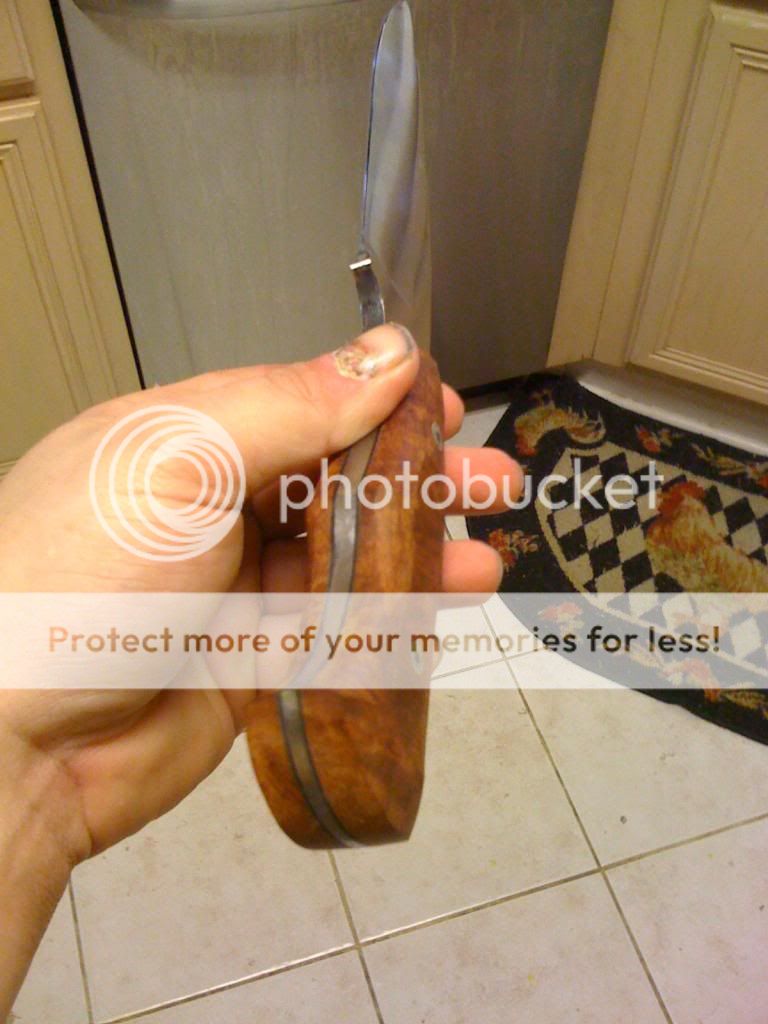
    Anyway I thought Id make this fun this year as I get started on some knives over the next few months. I WANT TO USE YOUR IDEAS AND DESIGNS! I can't gaurantee that I will use them all but some might find it fun to see their suggestion for a certain shape or handle material or a complete design used and Ill post some pics as I get the chance to work on them here. I find most people enjoy the hunters and kitchen knives more but open to any idea that brings in $ for these groups.
    SO jump on board and let me know what ideas you got! :D
     

    cbr900son

    Well-Known Member
    Rating - 100%
    1   0   0
    Nov 26, 2010
    539
    16
    broussard la
    Here are 2 Im thinking about doing. I cut them in plexiglass so I can remake down the road if I ever decide to.

    photo-9_zps167d17ad.jpg


    So for the large skinner I was thinking about tapering the tang and using some dark walnut I have. For those who don't know what tapering the tang is. Well it is basically having it get thinner toward the butt. This does 2 things changes the way a knife balances and feels and also shows a little more of the maker's skills since it isn't as easy as just drilling holes and gluing some slabs on since things arn't 90 degrees square anymore.

    Here is a pic for reference

    modified_willowleaf_tapered_tang.jpg


    As for the smaller EDC I was thinking something a little more daily/tactical looking. Maybe some red and black layered g10, bolts instead of pins with a kydex sheath. This one also looks nice with some wood and pins. Here is the same knife with a few different handles. In the pics they were just rough sanded and noth finished yet so it would look better (hopefully) lol

    photo2-1.jpg
     

    cbr900son

    Well-Known Member
    Rating - 100%
    1   0   0
    Nov 26, 2010
    539
    16
    broussard la
    Well got some time this mornign to start working on a couple of the knives.

    The small one - got the rough bevels ground in. Still not sure If i wanna do some layered g10 or wood or file work or what. This little knife can go into so many directions and still look good.

    photo-9_zpsa02dc655.jpg


    Big one cut out and playing with the marker on grind lines to see what Looks good. This one doesnt look good as it gets to narrow toward the tip so gonna draw some more lines and see If I can find something I like.

    photo1-3_zps7e207311.jpg


    Feel free to chime in with any ideas !!!!
     

    cbr900son

    Well-Known Member
    Rating - 100%
    1   0   0
    Nov 26, 2010
    539
    16
    broussard la
    Started the grinds on the larger fighter style knife.

    photo-9_zpsa3e513bb.jpg


    Not sure if it would look good with a swedge on the top part of the blade like below

    P1013805.JPG
     

    cbr900son

    Well-Known Member
    Rating - 100%
    1   0   0
    Nov 26, 2010
    539
    16
    broussard la
    Can't picture the wether the swedge/false edge would look good or not so decided to raper the handle today. The best way to do this is to grind a grove into the handle to predetermined points.

    Layout fluid on the butt with scribed lines for the center and where I want it to stop. Should leave me with right under 0.1" thick.

    IMG_0883_zpscaa3cb22.jpg


    On my grinder I have different size wheels from 10" down to this 1/2" wheel. For the groove Im gonna use a 2" wheel tho.

    IMG_0877_zpsbfbd94c0.jpg


    Groove will be a little deeper toward the blade then the butt forweight and balance.

    IMG_0881_zps623cc15d.jpg


    Other side done

    IMG_0882_zps3a727884.jpg


    Next I put on my flat grinder arm and start grinding putting more pressure on the butt end so it lays flat butt takes more material away. (forgot to get a pic of this process) The end product is a taper to a narrow handle.

    IMG_0885_zps4245778d.jpg


    Thickness at the thickest part compared to the narrowest part now

    IMG_0886_zps6e13c5da.jpg


    IMG_0887_zps4eab4341.jpg


    This is a piece of scrap that was cut off making the profile. It is literally about 150% the weight of the knife now! Tapering the knife REALLY made it light but balance so much better!!! Ive never tapered a heavy thick knife like thios and still just amazed at how it feels in the hand!!!! You can also see how the angle flattened out the end of the groove so the scales can sit nice and flat and leave no gaps and the epoxy will seal better.

    IMG_0888_zps86b86d9b.jpg


    Any comments or thoughts are more then wanted!
     

    cbr900son

    Well-Known Member
    Rating - 100%
    1   0   0
    Nov 26, 2010
    539
    16
    broussard la
    I get a lot of emails and messages etc about making knives. While I have a pretty well stocked shop it doesn't take near this to doo it. Ive seen some really nice knives from files sand paper and time! Now if anyone needs help or would like to come by and work in my shop one day. Feel free to ask. Ive helped a few people who have asked and would love to meet some more people and see what they want to do and help them out with their projects. FYI it is also a good father son activity.
     

    cbr900son

    Well-Known Member
    Rating - 100%
    1   0   0
    Nov 26, 2010
    539
    16
    broussard la
    Well last day off till I got to work for the next few days so started hand sanding all the rough grinder scratches out. Will probably sand to around a clean 220 before heat treat.

    Got to get all the small scratches out like these. This is why I change sanding direction with each grit to know where the deep scratches are.

    IMG_0889_zpsa2998e4c.jpg


    I machined this rig out of aluminum on the mill to be nice and square. Later on you will see some other uses for it when I start on the handle.

    IMG_0890_zps9997a733.jpg
     

    cbr900son

    Well-Known Member
    Rating - 100%
    1   0   0
    Nov 26, 2010
    539
    16
    broussard la
    Got this piece of stabalized amboyna burl. It looks GREAT! Can't wait to see it sanded and polished up once the handle is done!!!! Pics can't do it justice! Also have some copper mosaic pin in Ill be using. Finished hand sanding the blade to 220 and in the next couple days will be heat treating the blade.

    IMG_0891_zps621bbce5.jpg


    IMG_0892_zpse55fd571.jpg
     

    cnodie1

    Well-Known Member
    Rating - 100%
    30   0   0
    Mar 2, 2011
    1,831
    36
    New Orleans
    What are the grooves in the handle for? Did you machine them? Also what steel did you start with and where did you get the stock?
     
    Last edited:

    cbr900son

    Well-Known Member
    Rating - 100%
    1   0   0
    Nov 26, 2010
    539
    16
    broussard la
    What are the grooves in the handle for? Did you machine them? Also what steel did you start with and where did you get the stock?
    The grooves were to help taper the tang and affect the weight and balance. See above posts for more pics. I used 0.26" thick 1095. I usually get my steel from http://newjerseysteelbaron.com/. I usually order in bulk a couple times a year. Saves a lot on shipping cost.
     

    cbr900son

    Well-Known Member
    Rating - 100%
    1   0   0
    Nov 26, 2010
    539
    16
    broussard la
    Tomorrow Im off from work and plan on heat treating the knife. This is 1095 which requires a few minutes to soak at 1450 degrees and then Ill temper back down a few points in hardness to get the perfect 58 RC hardness (this is the rockwell scale). Now heat treating takes a lot of work. Things have to go just right to get the steel to change molecular states like Martensite and Retained Austenite. Heat treating can be very difficult to explain and Im probably not the best to do it lol. Ive done testing and with 1095 like this knife I like to put the knife in the heat treat oven while cold and heat as fast as possible to 1300 degress then slow it down till the temp reaches 1450. This slowing allows the knife to keep up with the air temp which the oven reads. Letting it soak for 5 mins has given me hardness levels of 60-61 rc with 1095. Also in test pieces the grain structure was uniform throughout which is what we want! Now at 61 RC steel is so hard if it breaks it will snap clean like glass! So on bigger blades where the knife is long enough to recieve prying action I usually back down to 58 RC whioch makes it hard enough to chop and hack if need without chipping the edge. Now if this was a small traditional folding knife you can easily get away with a 61 RC. Ill try to get pics tommorow but can't promise anythign since the whole oven to quench process has to be VERY quick.
     

    cbr900son

    Well-Known Member
    Rating - 100%
    1   0   0
    Nov 26, 2010
    539
    16
    broussard la
    Here is the knife with some anit-scaling compound on it. This just makes clean up after heat treat 10x easier. It flakes off in the quench.

    photo1-3_zpsa81c832e.jpg


    Here is a pic of my oven at 1150 degrees. It has the capability to go to 2200 if need. This was as close as I could get due to the heat coming out. Think of a pizza in the oven and you open it up then imagine this. The little tray in there is ceramic and made to hold the knives during heat treat.

    photo2-5_zps0339e681.jpg
     

    cbr900son

    Well-Known Member
    Rating - 100%
    1   0   0
    Nov 26, 2010
    539
    16
    broussard la
    Ok finally some free time!!!! Spent a few hours hand sanding to 2000 grit. Needs a quick wipe down with acetone and windex then a nice buff should have my mirror polish. You can also see in the middle of hand sanding (arounf the 400 grit phase I grinded the extra hump on the tip off so I have a nice pointy point! If you have a point before the lower grits can actually round it off. Also eposied a thin black g10 liner on the wood which I sanded perfectly flat on a perfectly flat peice of granite behind it in the pic. The liner is pretty thin ands Im hoping it is thick enough to give just enough contrast against the tang and wood.

    photo1-3_zps964fc7eb.jpg


    photo2-5_zpsd8bdb2be.jpg


    PS yes I did mess up my thumb working on knives. Due to my stupidity of course. Who knew clamps could stop so much pain...
     
    Last edited:

    cbr900son

    Well-Known Member
    Rating - 100%
    1   0   0
    Nov 26, 2010
    539
    16
    broussard la
    Got my scales with the liner epoxied on cut to rough shape. Now half the time I work with unstabalized wood and it can react to weather and humidity and warp ever so slightly. With stabalzied wood you dont have this problem but Im a man of precaution and habit and will blamp my wood flat for a day or two in my garage so the freshly cut and exposed wood can adjust without warping. Ive seen some nice knives with natural wood react to weather over time and crack or pull away from the tang ever so slightly.

    photo1-3_zps380c3d8a.jpg
     

    cbr900son

    Well-Known Member
    Rating - 100%
    1   0   0
    Nov 26, 2010
    539
    16
    broussard la
    As always, great post. I enjoy seeing the progress and descriptions. I HAVE to try this one day.
    I tell everyone they are more then welcome and come by and try it! It is very addictive tho!! You would be amazed how a little time and patience how nice a knife YOU could make even if it is your first.


    OK remember that sanding jig from earlier I machined out of aluminum well here is its main purpose. It was made for tapered tangs! The little block that goes with it can hold the material so I can drill thru it just right. Since My tang isn't a perfect square anymore and angled you need something like this to solve some basic geometry issues that will come up without it. The main thing to remeber is that we want the pins to be 90 degrees to the CENTER LINE of the knife! The little block with the screws in it is flat on all sides and has several holes tapped on deveral sides so I can use it at just about any height I need.


    The knife is clamped where it is still nice and square near the ricasso. This keeps the centerline of the knife perpendicular to the drill bit.

    photo1-3_zpsfb13e810.jpg


    This gives a idea of how it works.

    photo4-3_zps9dd17f5f.jpg


    EXAMPLE1_zps29bb1cfa.jpg


    Now that the holes are drilled I take some pin stock the same size as the holes to hold the peices togetehr and even up the top and sand them to a nice finish since once they are glued on the handle I can't work on them really without scratching the knife.

    photo6-1_zps4dba41ba.jpg


    Next I drill a few extra dimples for more rough surface for the epoxy to grab onto

    photo7-1_zps6db4c728.jpg


    Ive tried many eposies over the years but settled on this. Originally intended for bedding rifle barrels it works great!One of the strongest holds available. Very heat and weather/chemical resistant. Also slow curing so I have time to clean up anything that oozes on the blade etc unlike the weaker 5 minute epoxies.

    photo5-1_zps9d278fcf.jpg


    Now it is clamped up and letting the epoxy dry overnight. You can work with it usually after 3-4 hrs but got some errands to run and seems like a decent stop point.

    photo1-3_zpsfb13e810.jpg
     
    Last edited:

    cbr900son

    Well-Known Member
    Rating - 100%
    1   0   0
    Nov 26, 2010
    539
    16
    broussard la
    This is the part that can't really be explained and where the knife starts to look like a knife! Handle shaping!! Every handle has a different handle shape which changes how you sharp and carve the handle. This is the very rough shaping. Next ill take files and lots of sandpaper to shape and polish it up.

    The taper and black liner can be seen here. I think the liner was the right choice! Sometimes you get a idea and in your head it works but doesn't come out right when you see it in person. Black was a pretty easy choice for color on this knife and will tie the handle together with the sheath a lot more!


    photo1-3_zps39ef0412.jpg


    photo2-5_zpsfdeebefa.jpg
     
    Top Bottom